How to Install Hyper-V in Windows Server 2012
- Hyper-V, Codenamed Viridian and formerly known as Windows Server Virtualization, is a native Hypervisor, it can create virtual machines on x86-64 systems. Starting with Windows 8, Hyper-V supersedes Windows Virtual PC as the hardware visualization component of the client editions of Windows NT.
- On the server desktop, open Server Manager.

Server Manager Console - In Server Manager, in the menu click Manage, and then click Add Roles and Features.

Add Roles and Features Selection - In the Add Roles and Features Wizard, on the Before You Begin page, select Next.

Before You Begin Page - On the Select Installation Type page, select Roles-based or Feature-based installation, and click Next.

Select Installation Type Page - On the Select Destination Server page, Select the server, and click Next.

Select Destination Server page - On the Select Serer Roles page, select Hyper-V, and then clock Add Features in the dialog box.

Add Features Dialog - On the Select Server Roles page, click Next.

Select Server Roles page - On the Select Features page, click Next.

Select Features Page - On the Hyper-V Page, click Next.

Hyper-V Page - On the Create Virtual Switches page, select a network adapter if you have, and then click Next.

Create Virtual Switches Page - On the Virtual Machine Migration page, click Next.

Virtual Machine Migration Page - On the Default Stores page, click Next.

Default Stores Page - On the Configuration page, check Restart the destination server automatically if required, and then click Yes in the restart dialog box.

Restart Dialog Box - On the Confirmation page, click Install.

Confirmation Page - On the Installation Progress page, you can monitor the Hyper-V role installation until the server automatically restarts.

Installation Progress Page - After the server restarts and opens the Server Manager, check the Installation page to ensure that the Hyper-V role installation was successful, and then click close.
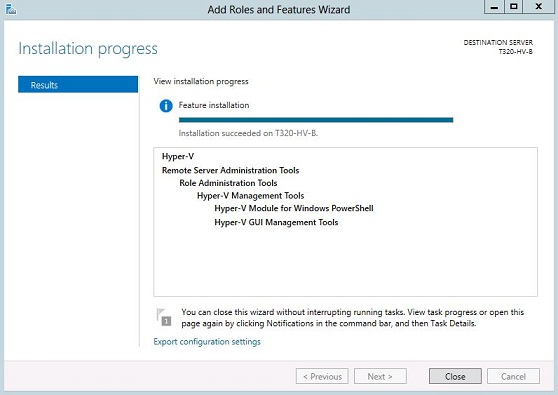
Installation Progress page
0 comments:
Post a Comment